
Want to build your own life-sized Santa Sleigh?
Several readers expressed interest in how I built the Santa Sleigh and the Santa Workshop in time for Christmas.
Since I was a child, I’ve loved the five following treasures and events:
- The woods of the Upper Peninsula of Michigan and the UP’s long, cold, snowy winters.
- Woodworking projects of all shapes and sizes.
- Activities that give me the opportunity to make a difference in the lives of others.
- Bringing smiles to those around us and helping others in need.
- A white Christmas!
The Santa Sleigh, Santa Workshop, and Christmas 2008
I never drew a set of plants to make the Santa Sleigh in 2008, but future me thinks that’s not a bad idea!
The great thing about the Santa Workshop is it will double as a doll house for my four-year-old.
Given the situation with the weather, spring, and summer feel right around the corner here in North Texas in late 2008.
And unfortunately, a white Christmas seems unlikely.
Building the Santa Sleigh in my garage.
Supplies I used to make the Santa Sleigh and Santa Workshop.
I approached these two projects with the idea of making them easy to disassemble come January 2009.
This means the build uses 1-3/4-inch and 2-1/2-inch outdoor screws for assembly.
I bought a 3/4-inch 4-foot by 8-foot piece of ply for each side of the Santa Sleigh and another for the front of the Santa Workshop.
For the sides and the roof of the workshop, I bought 1/2-inch roofing boards.
One sheet of MDB/MDG made the Santa Sleigh seat so Santa didn’t end up with a burr under his saddle, aka., splinters in uncomfy places.

An image of my Santa Sleigh from the rear of the design. The body is framed with 2″ x 4″s and the facade is ply and MDB.
Making a Santa Sleigh without a pattern.
To make the Santa Sleigh design, my imagination took over when I picked up a pencil and a four-foot level.
(Again, Future Me is telling me 14 years later that I should draw out the plans….)
My 4-foot level helped as a long straight edge for the Santa Sleigh skids.
A piece of wire used as a compass helped make the curves along the front vertical planes look round and smooth.
After designing and drawing out the shape of the Santa Sleigh, I used a Sharpie to make the results of cutting the sleigh’s body pleasing to the eye.
Cutting the Santa Sleigh facade parts.
To cut my design’s lines, I used a jigsaw as a circular saw, for obvious reasons, would not work.
Once I had the one piece cut, I simply laid out another 4-foot by eight-foot piece of plywood and set it on top, and traced the first piece.
About an hour I cut out both sides of the Santa Sleigh.
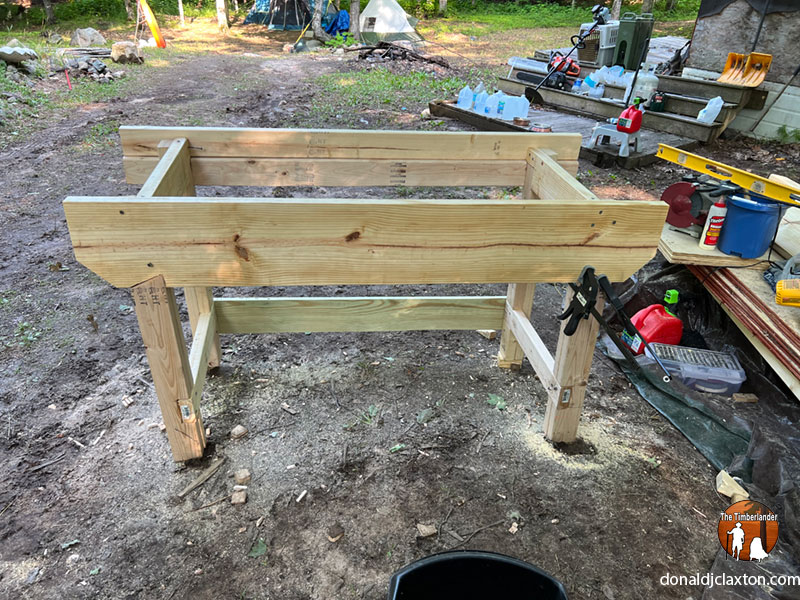
The Santa Sleigh frame
The skids have 2″ x 4-inch boards running front to back and across the floorboard to form the foundation for the rest of the frame.
The frame is strong enough so that “Santa” could rest on the seat along with a child and/or parent at the same time.
Building a series of tiers tied to the 2″ x 4″ x 54″ and 2″ x 4″ x 48″ framing makes the structure sound.
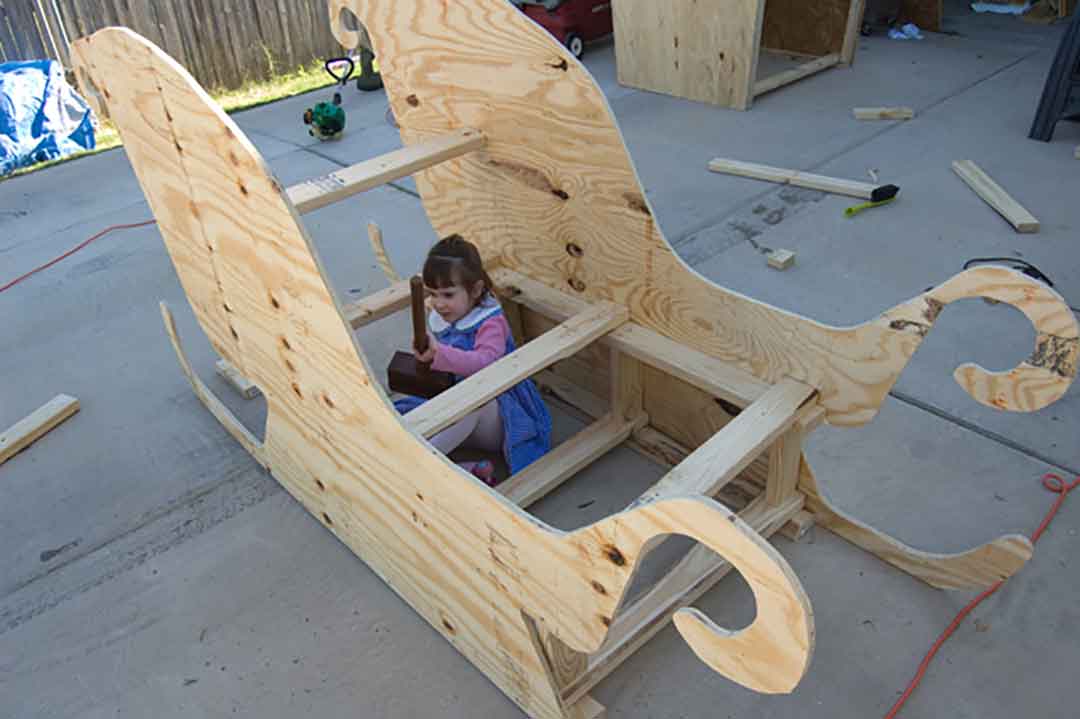
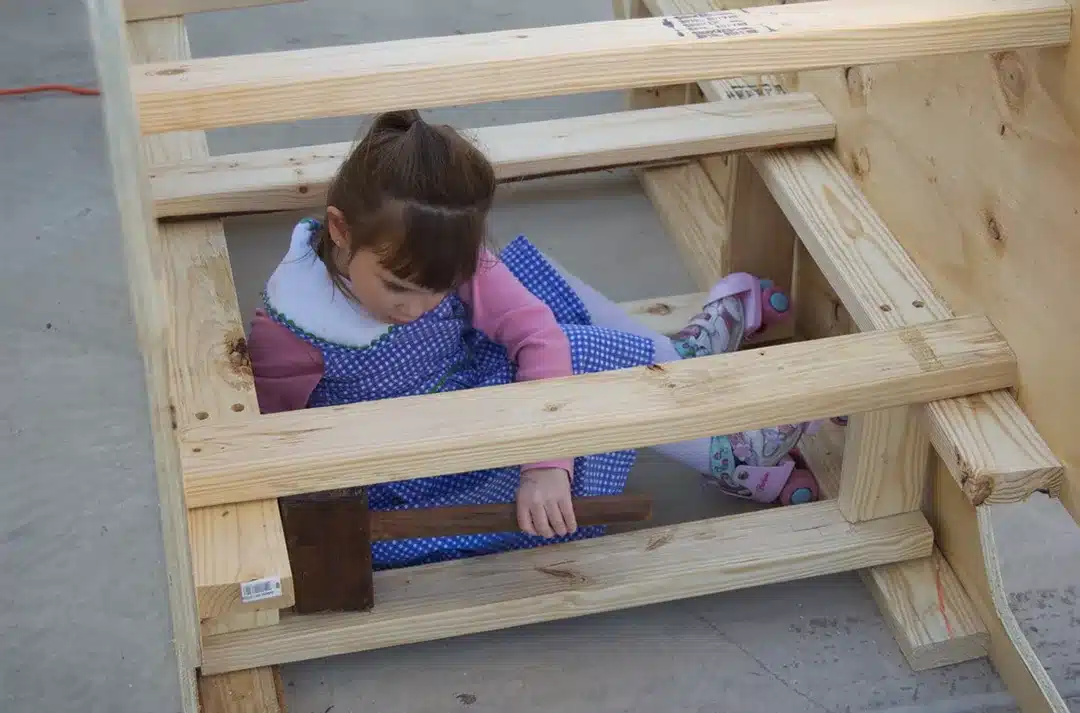
The Santa Sleigh framing inside view, complete with Ashleigh “helping” me build.
Supports for the frame ensure the solidness of the sleigh.
I added spacing with 2″ x 4″ supports 9-3/4″ apart, and additional supports between them at the front of the sleigh, the rear, and at the stress points, ensuring the sleigh will not going to fall apart any time soon.
The rear view of the Santa Sleigh should provide a better understanding.
Rear view of the 2008 Santa Sleigh build. This highlights the 2″ x 4″ framing inside.
The flooring for my 2008 Santa Sleigh build.
The Santa Sleigh flooring required a sheet of plywood braced by three 2″ x 4″ x 32″ spans across the sleigh.
This enabled the further strengthening of the sleigh by adding to the boxes for the seating.
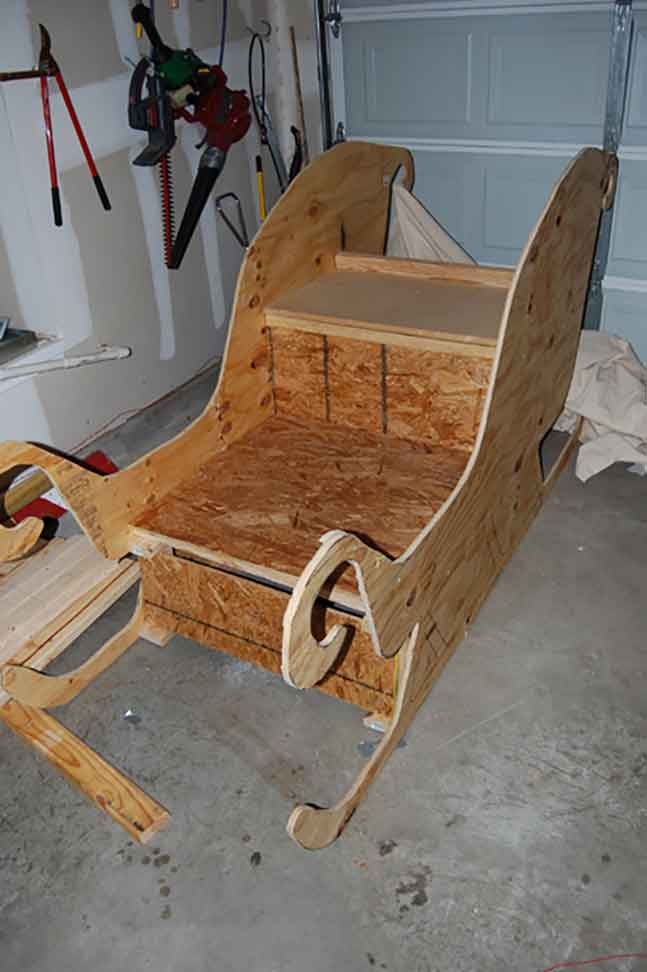
The Santa Sleigh flooring and seating boxes strengthen the frame while also ensuring a place for Santa et al. to have a place to sit on the life-sized sleigh.
Building the front footplate for my Santa Sleigh.
Santa Sleigh cabin section, complete with flooring, front footplate, and gift bag area to the rear.
I built the front footplate and Santa’s backrest before sealing the back of the sleigh.
Again, all of this is screwed together, so in January the sleigh is storable after disassembly.
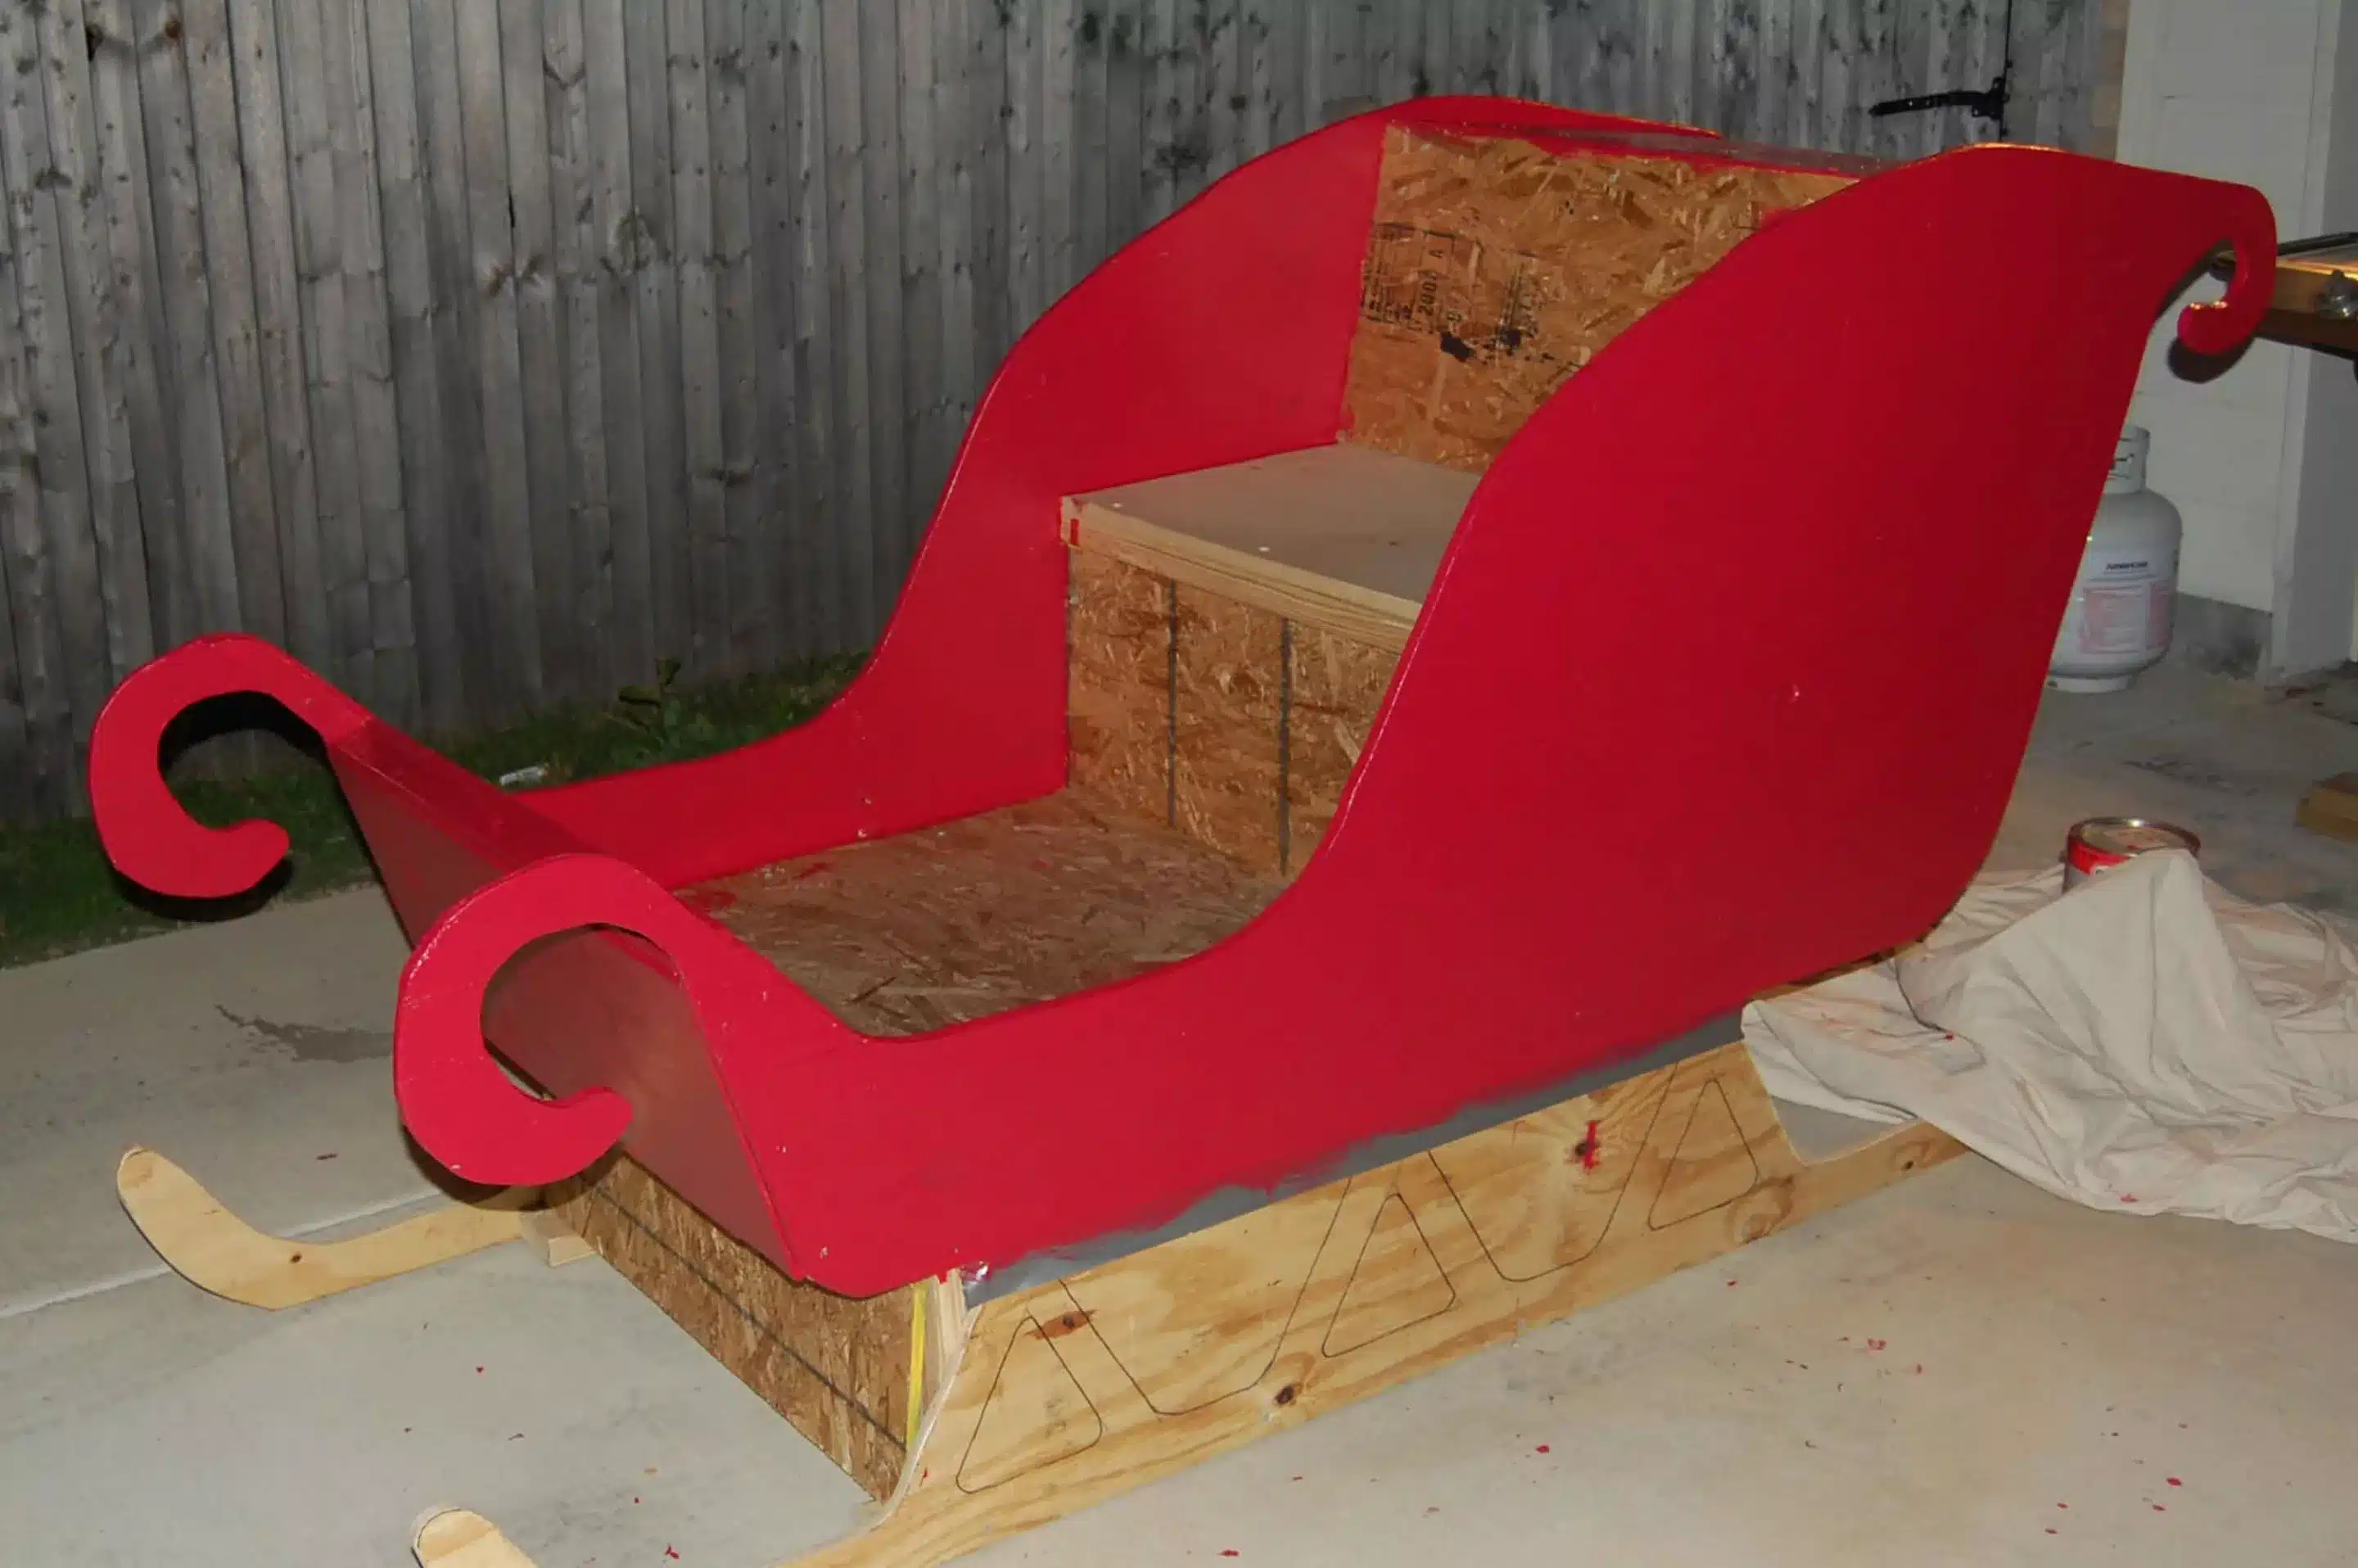
Painting the Santa Sleigh.
Again, I didn’t have a set of drawings for building the sleigh, and this applies to the way it’s painted, too.
We all know from historical references that Santa’s Sleigh is red.
Bright red.
Applying the 60:30:10 rule of color design.
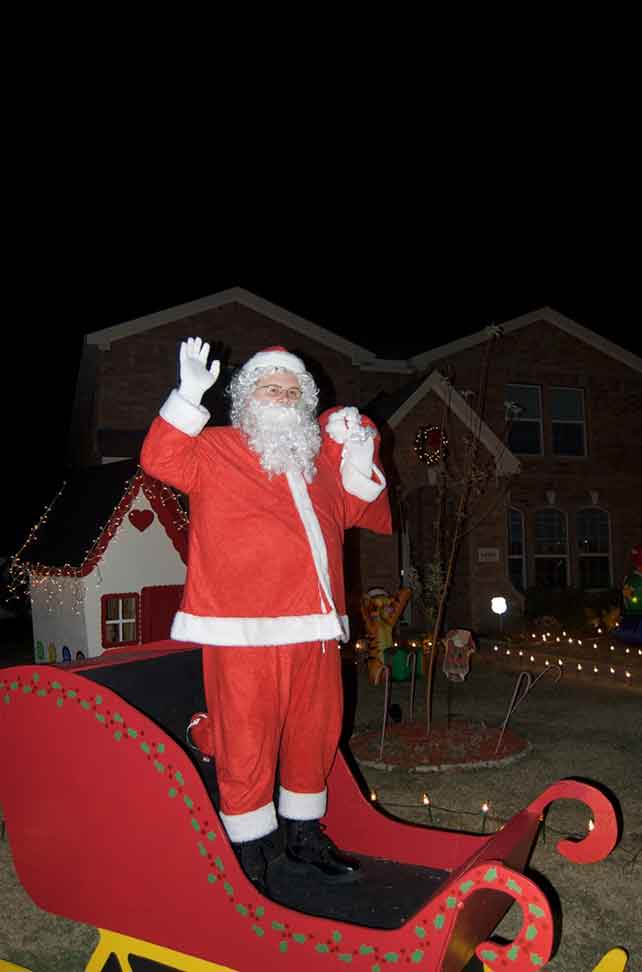
Santa Sleigh with Santa in it, demonstrating the 60:30: 10 rule of color design.
UPDATE 2023: I did not realize in 2008 this is what we did to paint our Santa Sleigh, but the 60:30:10 rule’s application works well.
This aspect of painting the sleigh came easy; not to mention the application of the 60:30:10 design rule for applying color.
Black became 30 percent of the color or in some proximate way.
The highlight color, naturally, yellow, implies something of a golden aura to what children view as magical.
SANTA’S WORKSHOP
Santa’s Workshop is really simple. I got a 4 x8 foot plyboard, went about 2/3s of the way up, and angled off to the middle for the top point.
Then I used a 48-inch wide section and then tapered it off as I dropped to the bottom of the board.
This gives the Santa Workshop a smaller size at the bottom frame.
The inside is made up of a simple square 2 x 4 frame, and then I ran the 2 x 4s up the side of the structure so that I could fasten the side walls to them.
Once I had the front and the back attached to the framing, I secured them with side beams.
The finer details of my Santa Workshop.
Once the floor was in, I drew the door and the panes for the windows on the front panel and used a jigsaw to cut them out.
I have some 2 x 4 boards I’m going to use to secure the roofing and plan to get 2 more 4 x 8 boards and run them lengthwise to make the roofing. I don’t think it will be 8 feet long though. I will let you know when I get to that point.
Photos are included to help you work your way through it all.
If you have any questions, don’t hesitate to send them via my contact form.
Of course, when I get the two items completed this weekend, they will be painted and trimmed out.
You can learn more about how I built Santa’s Sleigh from:
- Awesome Santa’s Sleigh and Santa’s Workshop 2008
- Ready for Christmas 2009: Excitement about Santa’s Sleigh


Great Crafts, they are amazing, i am unable to stop myself appreciating your art.
Thanks for posting
Julia
I would like make a Santa Sleigh out of wood. Do you have a Pattern.
Please call me on 202-452-5089 or 301-933-5921.
Thank you.
Lynn Blizzard
Oh My gosh, those are great! Glad so see someone really get into the Christmas spirit. I am going to make one and sit outside this year on weekends for kids to come by and take pictures. I think we will give hot chocolate out the window of the santa workshop. Do you have any pictures where you finished it off with paint? Again, great job!!!!!